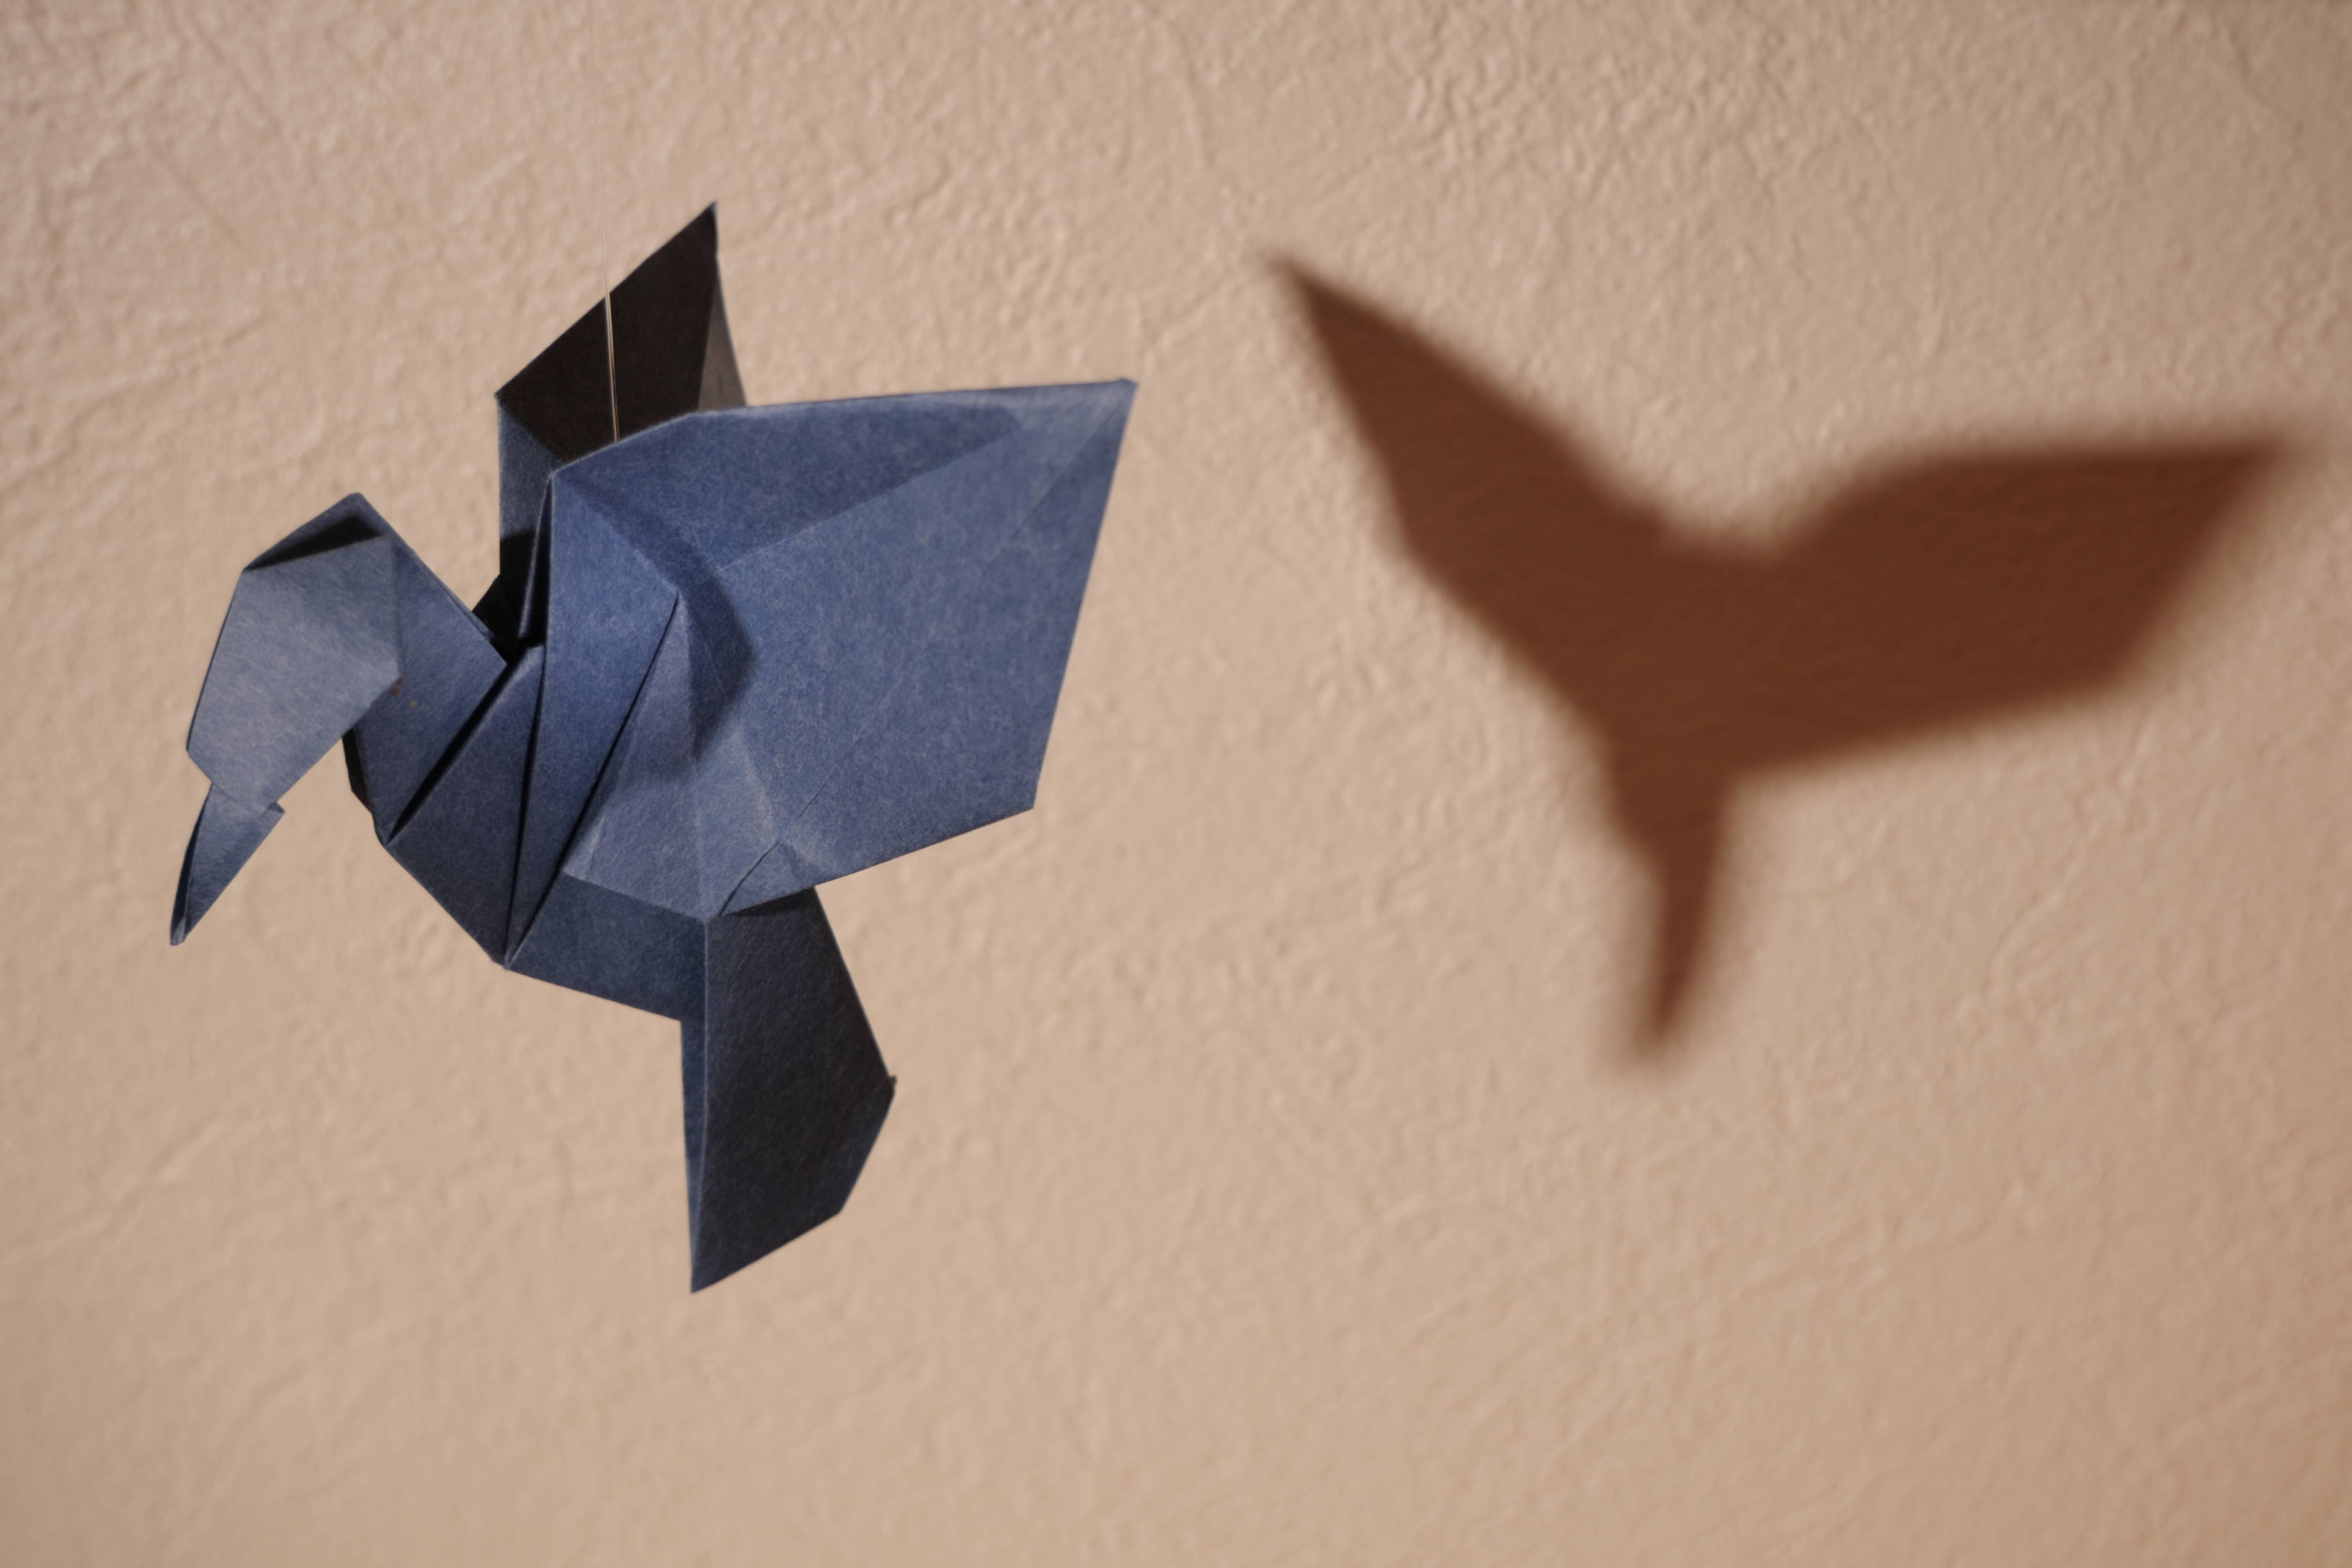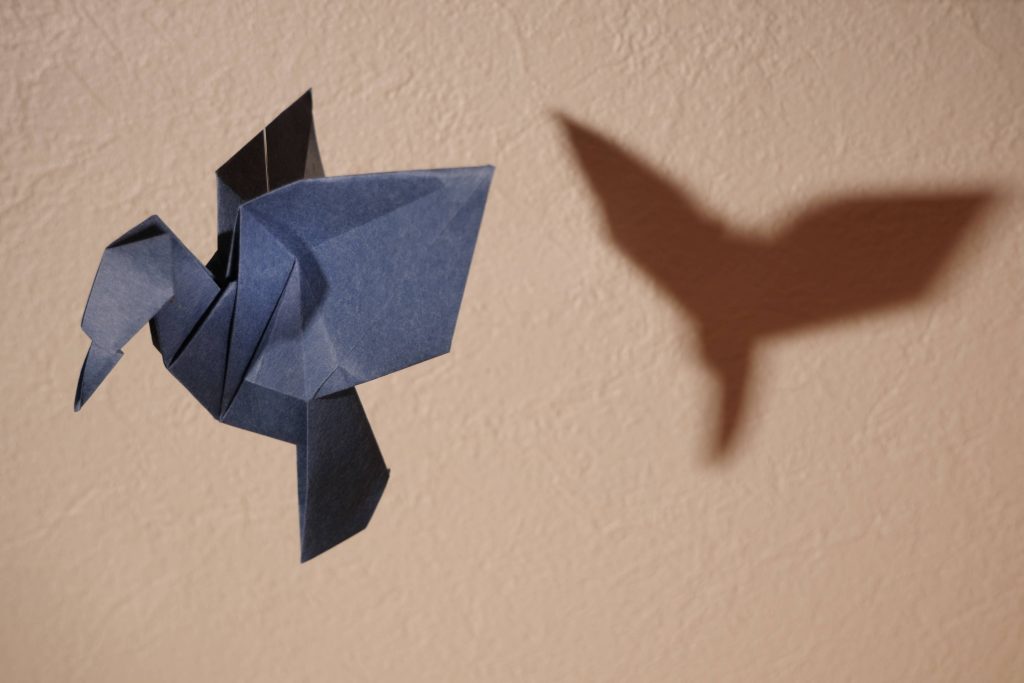
This is one of my new favorite models: a bird by Edwin Corrie. I don’t fold many animals, I really prefer boxes and geometrical forms, but I fell in love with this one! The movement in its wings, the amazing folding sequence (and great diagram, although I did find a few things to improve it, I’ll list them at the end of the post).

The model can be found in Le Pli n°145 (revue du Mouvement Français des Plieurs de Papier). Not sure if it has been published somewhere else, but Edwin Corrie published a few other diagrams on his website, and “Origami Animals” by Vicente Palacios has mostly models by Edwin Corrie and is a good book of low-intermediary models. By the way, I met him at the Origami Convention in Blois, and he’s a very nice person, so if you have an occasion to fold with him, don’t hesitate! (He’s shy though, so go talk to him. Or maybe it was just because we all spoke French).
Paper: satogami 24 cm from origami-shop.com. I had the “paper discovery pack” since a while, but couldn’t get myself to use the beautiful papers – but after folding a few of these birds, as seen below, I finally decided that this model deserved a beautiful paper.
As usual, Pierre-Manuel took the photos, and we both felt that the first of this article turned out great. I really love the shadow.
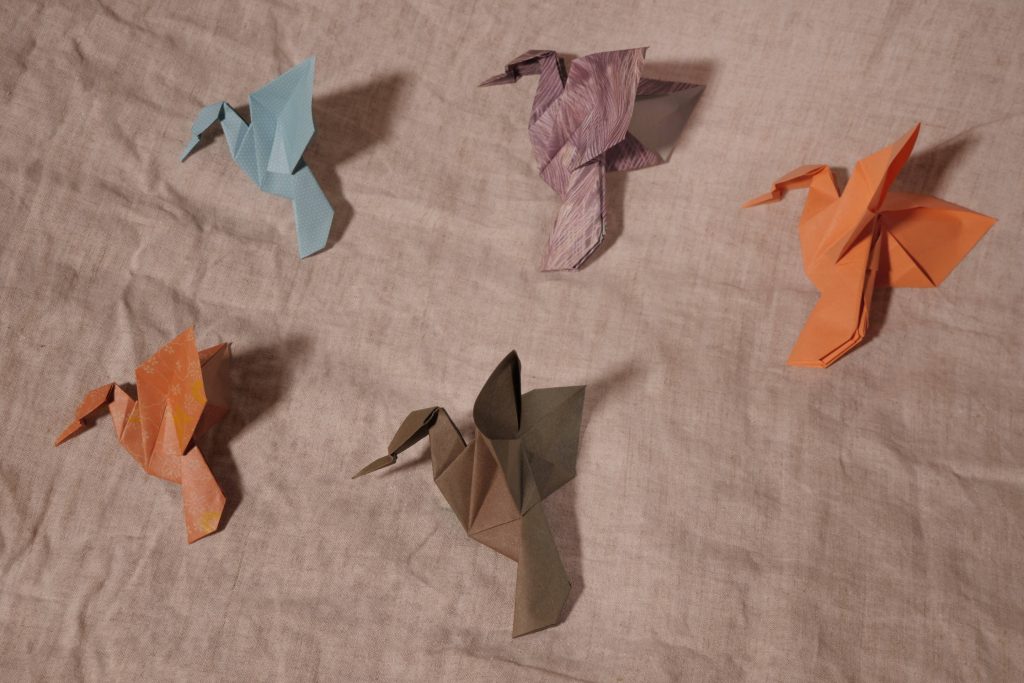
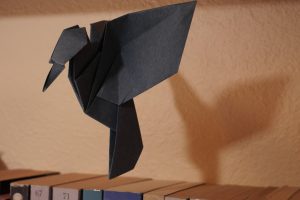
Papers of 15 and 20 cm. You can see the back of the wings in patterned papers has another color.
And now, my notes on the diagram : it doesn’t use double-sided paper, and the side of the paper is actually important. The bird will be all of the same color, except the back of the wings – it looks better with paper that has the same color on both sides, in my opinion, but if you have single-side paper and want the bird in color, start with the white side on the table, color towards you (and make a square base with the color inside). Then step 12 isn’t clear, you have to fold the top triangles at a 90° angle (align the paper with itself, rotating on the points of the sides).
To hang it from the ceiling, or in a mobile, you can undo the back from step 32, knot a thead around the base of the wings behind the head, and lock it by folding the back again. Voilà, an origami that hangs without holes :)
I’d say the difficulty is intermediary. Definitly not a beginner’s model, but not crazy hard once you’ve folded a while. It’s exactly the right difficulty for me.